Welcome to TINA2 3D Printer Wiki
User Tools
Sidebar
Table of Contents
Spark system connected to cloud platform
AstroPrint
Sign up for an AstroPrint account
Using a browser, go to www.astroprint.com

Click Sign in in the upper right corner of the page to open the login page

Click the start link in the bottom right corner of the login page to open the registration page
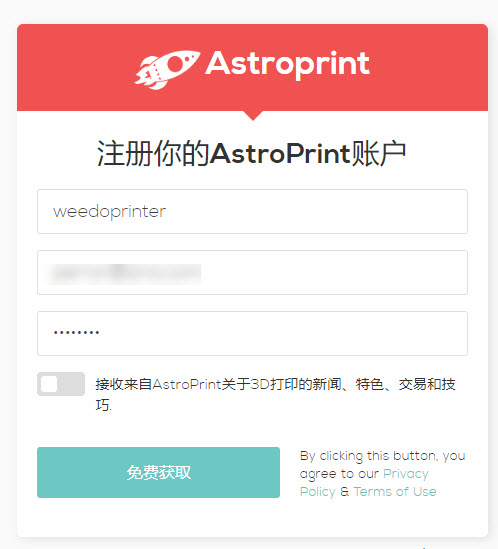
Enter account nickname, email and password, click for free
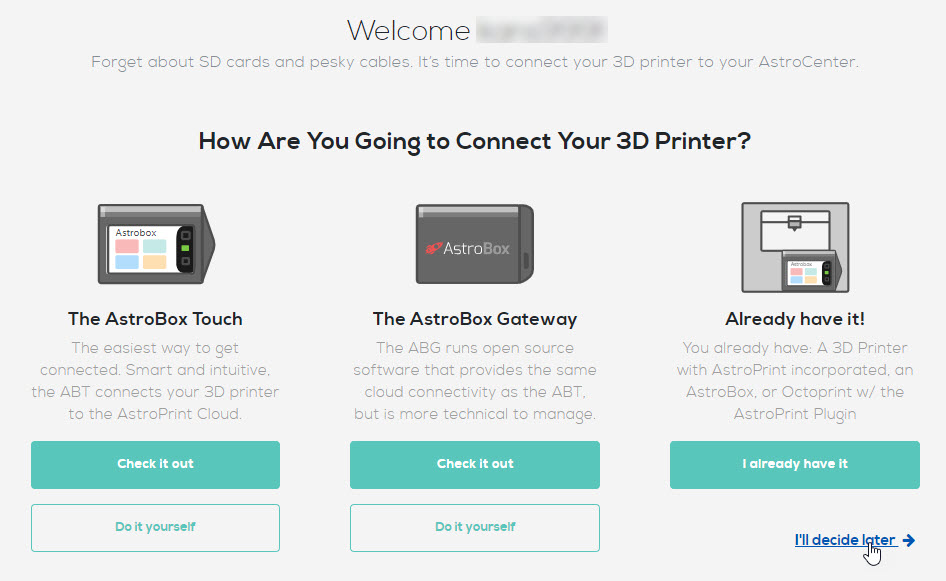
After entering the welcome page, click I'll decide later in the lower right corner to enter the main interface

Click the username in the upper right corner of the main interface, and click Account Settings in the menu that opens

At the bottom of the account settings page, copy the access key
AstroPrint plugin settings
Find the four horizontal bar icons in the upper right corner of the Spark main interface, and click AstroPrint in the menu that opens.
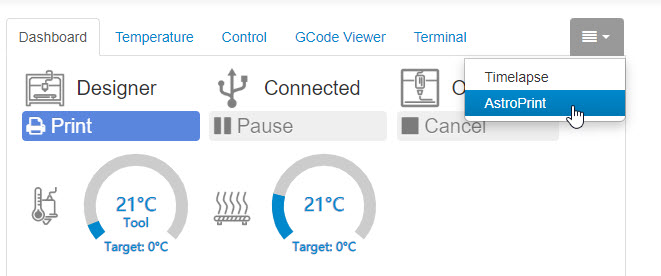
Paste the access key in the AstroPrint Plugin panel and click Link AstroPrint Account

The browser will jump to AstroPrint's website. If the login page pops up, enter your account number and password, and go to the authorization page
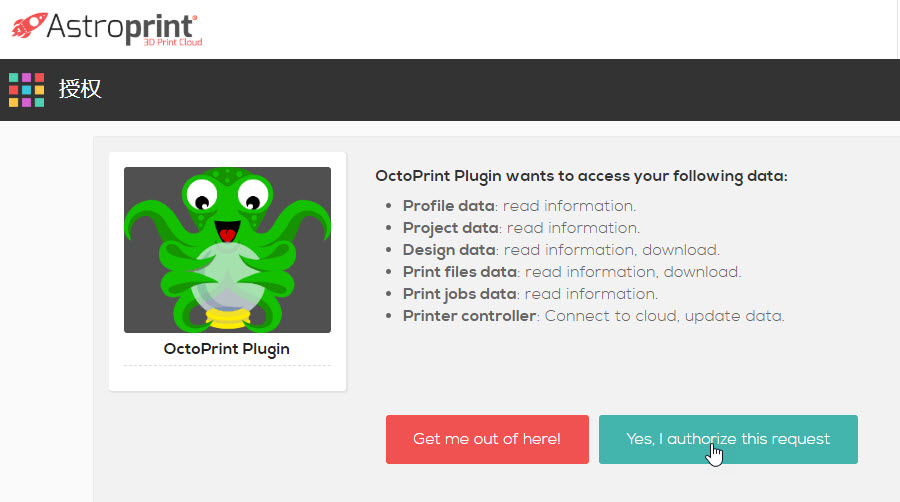
Click Yes, I authorize this request on the authorization page

After successful authorization, it will automatically return to the AstroPrint Plugin setting page. If CORS is not turned on in the settings, the interface will prompt Cross Origin Resource Access is disabled. After clicking, the page will go to the setting interface.

Check the box before Allow Cross Origin Resource Sharing (CORS), save, and restart the system.
Web Access Cloud Platform
After AstroPrint is set up, you can access it remotely through the AstroPrint platform's web terminal and APP.

Log in to AstroPrint.com, log in to the main interface, and click the Monitor icon.
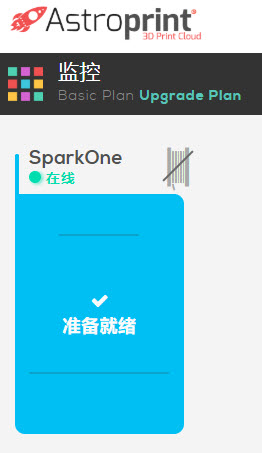
The Spark system connected to the AstroPrint platform will be displayed on the monitoring page. Clicking it will open the monitoring page of the device.
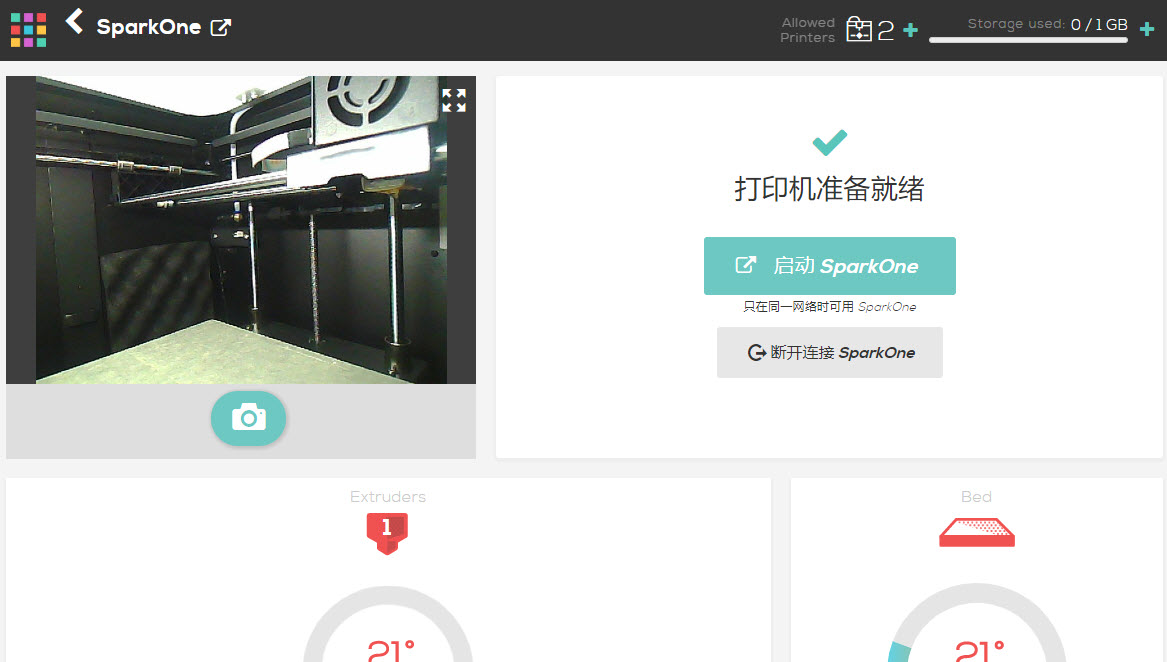
APP access cloud platform
Find AstroPrint in the mobile app store and install it. Open it and enter your registered email and password.

After entering the main interface, click the Printers icon

Display the online Spark system after the printer list interface

After clicking, you can open the monitoring interface. Click the camera icon in the interface to display the monitoring screen of the Spark system.

Polar Cloud

